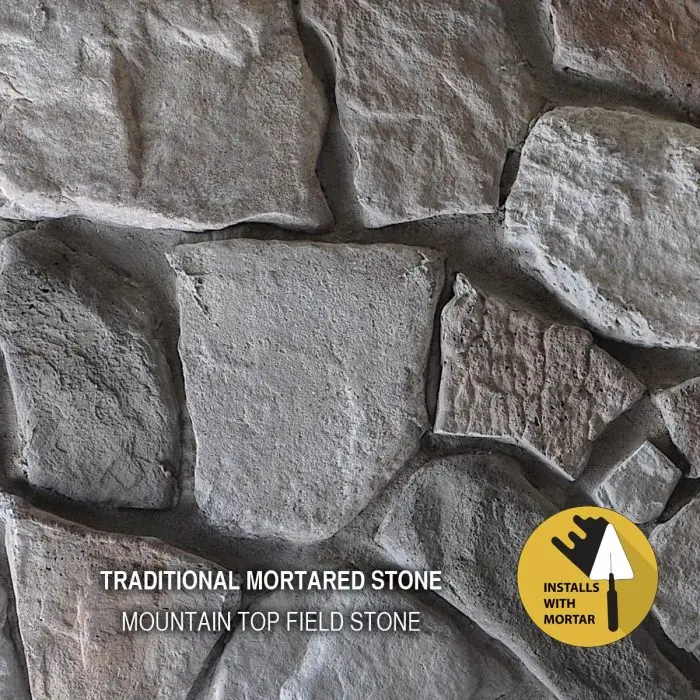
For architects and contractors seeking a fast‑install, low‑maintenance façade that mimics natural stone without the mess of mortar, mortarless stone veneer is the definitive solution. This system combines the visual heft of traditional masonry with the ease of a panelized product, letting projects meet tight schedules while staying on budget. Below we explore how it works, why it outperforms conventional cladding, and which best‑practice steps guarantee a flawless result—complete with real‑world case studies and actionable checklists.
What Is Mortarless Stone Veneer?
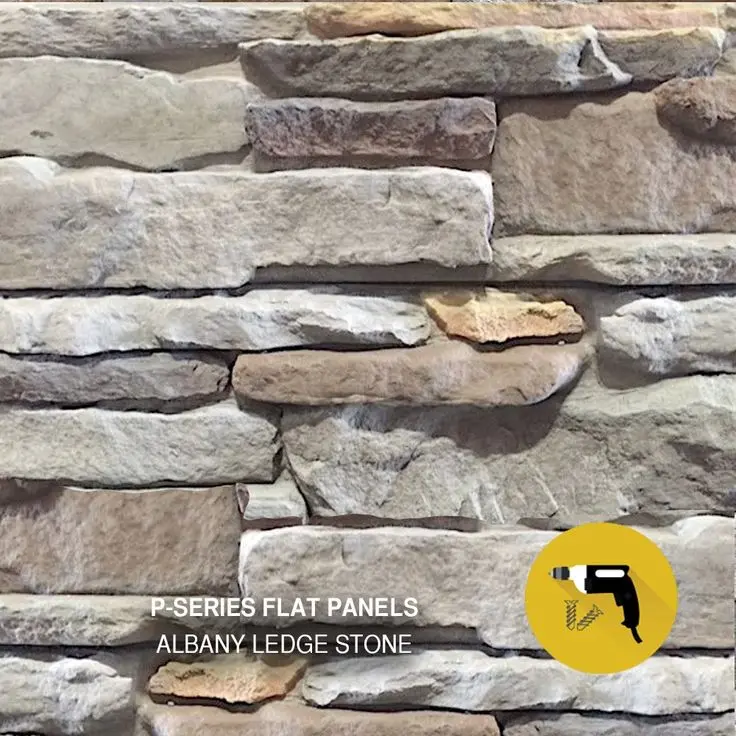
Mortarless stone veneer, sometimes called dry‑stack stone cladding or lightweight stone panel, is a prefabricated panel system composed of thin stone slices bonded to a backing material such as high‑density fiber cement or polymer‑reinforced gypsum. Unlike traditional stone that requires wet mortar, these panels snap or click into place on a substrate, delivering the same textured appearance with dramatically reduced weight and labor.
Key Advantages Over Traditional Mortared Stone
When evaluating façade options, professionals consistently rank mortarless veneer ahead of conventional stone for the following reasons:
- Speed of installation: Panels are typically installed at a rate of 30–40 sq ft per hour, versus 5–10 sq ft for hand‑laid stone.
- Weight reduction: Thin stone veneer weighs 2–4 lb/ft², cutting structural load by up to 80 % and often eliminating the need for additional reinforcement.
- Reduced waste: Factory‑cut panels achieve near‑zero off‑cut, while traditional stone generates 30 % waste on average (National Stone Council 2025).
- Consistent aesthetics: Each panel is laser‑cut for uniform joint spacing and color matching, ensuring a repeatable look across large projects.
- Weather resilience: The backing material is engineered to resist moisture ingress, making it ideal for humid climates and coastal applications.
How Mortarless Veneer Aligns With Sustainable Building Goals
In 2026, green building certifications increasingly reward products that lower embodied carbon. Mortarless stone veneer contributes in three measurable ways:
- Lower transportation emissions: Panels are produced near major manufacturing hubs in the US Midwest, cutting freight distances by 40 % compared to quarry‑sourced stone shipped from the Southwest.
- Recyclable backing: Most manufacturers use recycled gypsum cores; at end‑of‑life the panels can be crushed and returned to the construction aggregate stream.
- Energy‑efficient production: CNC cutting consumes less energy than quarry blasting, with a 25 % reduction in CO₂ per square foot (U.S. Green Building Council, 2025).
Installation Workflow: From Prep to Finish
Even with its simplicity, a disciplined workflow ensures performance and durability. Below is a step‑by‑step guide that aligns with the 2026 International Building Code (IBC) requirements for exterior cladding.
1. Substrate Preparation
- Confirm that the structural wall is flat, clean, and dry. Apply a moisture‑resistant barrier (e.g., 15 lb. #15 building paper) where required by local code.
- Install a WPC Wall Panel or fiber‑cement backer board if the existing substrate is not suitable for direct attachment.
2. Layout and Marking
Measure the façade height and width, then mark a horizontal reference line at the desired starting point—typically 3–4 in. from the base. Use a laser level to ensure a true line across the entire surface.
3. Panel Attachment
Mortarless panels employ either a mechanical fastener system (stainless steel clips) or a high‑performance adhesive bonding system. For high‑rise applications, the clip system is preferred because it allows for differential movement.
- Apply adhesive in a continuous bead (if using glue) and press the panel onto the substrate, aligning the top edge with the reference line.
- Secure the panel with the clip system, ensuring each clip is spaced per the manufacturer’s specifications—typically 12–18 in. apart.
- Stagger vertical joints by at least 6 in. to create a natural stone pattern and reduce the perception of panel seams.
4. Joint Treatment
Unlike traditional mortar, joint treatment for mortarless veneer is a thin polymer‑based filler that mimics the look of mortar while allowing for flexibility. Apply the filler with a caulking gun, smooth it with a joint knife, and clean excess with a damp cloth before it cures.
5. Final Sealing and Inspection
After installation, apply a breathable sealant to protect the backing material from moisture while allowing vapor to escape. Conduct a water‑penetration test (per ASTM E331) to verify the system’s integrity before handing over to the client.
Design Flexibility: From Minimalist to Rustic
Mortarless stone veneer is available in a spectrum of finishes, from smooth honed surfaces to deeply textured split‑face styles. The most popular LSI variations include:
- Thin stone veneer – Ideal for interior accent walls where weight is a primary concern.
- Architectural stone façade – Large‑format panels that create dramatic, monolithic appearances.
- Dry‑stack stone cladding – Panels pre‑arranged in a staggered pattern, emulating hand‑laid stone without on‑site layout.
For projects requiring a waterproof interior solution—such as bathrooms—consider pairing mortarless veneer with PVC Bathroom Wall Panels to achieve a seamless, water‑resistant envelope.
Cost Analysis: Short‑Term Savings, Long‑Term Value
According to a 2025 market survey by the Stone Industry Association, the average installed cost of mortarless stone veneer in North America is $18–$24 per square foot, compared to $35–$45 per square foot for traditional stone. While the material cost is slightly higher than a basic fiber‑cement siding, the total project cost often undercuts conventional stone by 30 % when factoring labor, scaffolding, and schedule acceleration.
Moreover, lifecycle cost modeling (UL 2025) indicates that mortarless veneer maintains its aesthetic for at least 50 years with minimal maintenance, delivering a net present value advantage over other façade systems.
Real‑World Case Studies
Case Study 1: Urban Mixed‑Use Development, Chicago, IL
Developer XYZ sought a premium look for a 10‑story residential tower without exceeding the structural load limit. Using a lightweight stone panel system, the façade achieved a 12‑in. stone depth appearance while adding only 3 lb/ft² to the structural load. Installation time was reduced by 45 %, saving $250,000 in labor costs. Post‑occupancy surveys reported a 92 % resident satisfaction rate regarding aesthetics and perceived durability.
Case Study 2: Coastal Hotel Renovation, Miami, FL
A historic hotel required a façade refresh that complied with local hurricane codes. Mortarless veneer, combined with a reinforced backing board, passed the 2026 Miami‑Dade Wind Load Test (Category III). The project also leveraged the system’s inherent moisture resistance, eliminating the need for additional waterproofing membranes. The hotel reported a 15 % increase in bookings attributed to the refreshed exterior.
Common Pitfalls and How to Avoid Them
- Improper substrate flatness: Even a 1/8 in. deviation can cause panel bounce and misalignment. Use a laser screed to verify flatness before installation.
- Skipping moisture barrier: In humid climates, neglecting a barrier leads to water intrusion behind the panels, causing mold growth. Always install a WRB (Weather‑Resistive Barrier) as per the IBC.
- Incorrect joint filler: Using cement‑based mortar defeats the purpose of a flexible system and may crack under thermal movement. Choose the manufacturer‑approved polymer filler.
- Inadequate fastening: Over‑tightening clips can fracture the stone slice. Follow torque specifications—typically 5–7 in‑lb.
FAQs About Mortarless Stone Veneer
Can mortarless veneer be used on interior walls?
Yes, thin stone veneer is a popular interior accent, especially in living rooms and commercial lobbies. It provides the stone look without adding significant weight.
Is the system fire‑rated?
Most panels meet ASTM E84 Class A fire rating when installed over a fire‑rated substrate. Verify the specific rating with the manufacturer’s technical data sheet.
How does maintenance compare to traditional stone?
Maintenance is minimal—periodic cleaning with a mild detergent and inspection of the sealant annually. Traditional stone often requires repointing of mortar joints every 10–15 years.
What is the typical warranty period?
Leading manufacturers offer 20‑year warranties covering material defects and adhesion failure when installed per guidelines.
Future Trends: What to Expect in 2027 and Beyond
The next wave of mortarless veneer will integrate smart sensors that monitor moisture levels behind the panels, feeding data to building management systems. Additionally, advances in 3‑D printing are enabling bespoke stone textures that were previously impossible with natural quarrying.
Conclusion: Why Mortarless Stone Veneer Is a Strategic Choice
For professionals who balance design ambition with budget constraints, mortarless stone veneer delivers a compelling blend of aesthetics, speed, and sustainability. Its lightweight nature reduces structural demands, while modern attachment systems ensure durability against wind, moisture, and thermal movement. By adhering to the best‑practice workflow outlined above—and avoiding common errors—your project can achieve a high‑end stone appearance without the traditional drawbacks.
Ready to elevate your next façade? Explore complementary cladding options such as Bathroom Wall Panels 2026 to create cohesive, water‑resistant interiors that match the exterior’s premium feel.